
Flooring Demolition 101: What Actually Happens Before New Flooring Goes In
TL;DR: Flooring demolition is a multi-stage process that starts with material identification and ends with a properly prepped subfloor. Each stage affects whether the new flooring installation goes smoothly or runs into problems that should have been caught earlier.

Key Takeaways
Flooring demolition involves more than just removing the visible surface layer — adhesive, thinset, and underlayment all have to come out too.
Material type determines the tools, timeline, and dust level for the job, which is why a site assessment happens before anything is touched.
The subfloor condition revealed after demo often determines whether the installation can start on schedule or needs additional repair work first.
Dust control during demolition directly affects air quality, HVAC systems, and how clean the subfloor is when the installation crew arrives.
Hiring a professional demo crew that handles debris removal as part of the job scope avoids a common source of project delays and unexpected cost.
Flooring demolition is one of those project phases that looks simple from the outside and gets complicated fast once it starts. Most homeowners picture someone ripping up old tile and throwing it in a dumpster. What actually happens is more involved: there's a material assessment, a removal process that varies significantly by flooring type, a layer of adhesive or mortar underneath that has to come out separately, debris management, and a subfloor inspection before any installation can begin.
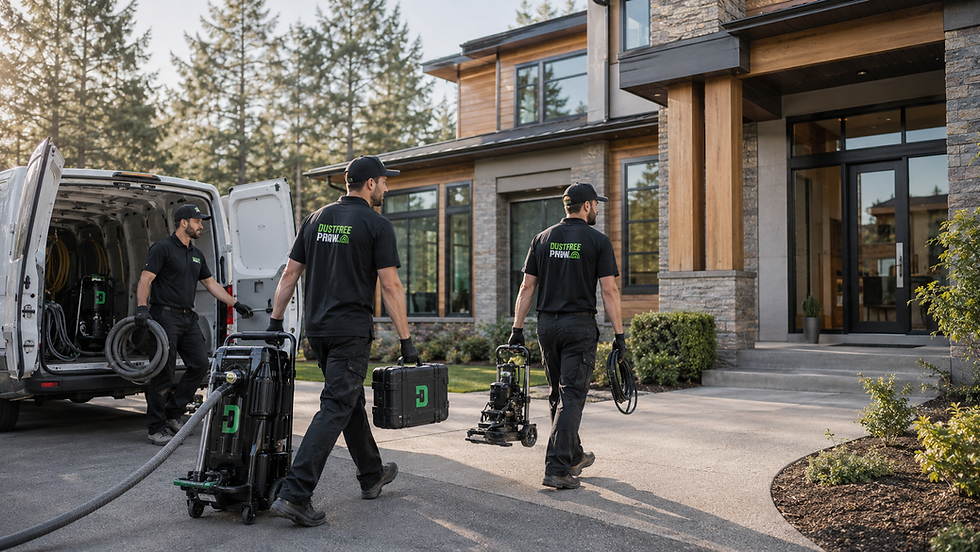
Understanding this process matters before you hire anyone to do it, because the quality of the demo directly determines whether your new flooring installs correctly. DustFree PNW's flooring removal service covers the full scope of this process across Central Oregon, from the initial assessment to a subfloor that's ready for installation the same day.
Step 1: Site Assessment and Material Identification
Every flooring demolition job starts with identifying exactly what's being removed. That means confirming the surface material, what's underneath it, and whether any hazardous materials might be present. Older flooring installed before the mid-1980s may contain asbestos in the tile itself or in the adhesive below it, which changes how the removal has to be handled entirely.

Material identification also affects the tools, timeline, and cost for the job. Ceramic tile over a mortar bed is a much more involved removal than vinyl plank over a floating underlayment. Knowing which you're dealing with before the crew shows up prevents scope changes mid-job and allows for accurate scheduling with the installation crew coming in afterward.
Step 2: Flooring Surface Removal
Once the material is identified and the space is cleared, the surface removal begins. The process varies significantly by material type, which is why there's no single "standard" flooring demolition method.
Flooring Type | Removal Method | Primary Dust Risk | Typical Complexity |
Ceramic / Porcelain Tile | Chipping with chisel or integrated demo tool | High — silica dust from tile and mortar | Medium to high |
Natural Stone | Chipping — heavier and denser than ceramic | High — silica and mineral dust | High |
Vinyl / Sheet Vinyl | Scored and peeled in sections | Low to medium | Low to medium |
Carpet | Cut and rolled, tack strips removed | Low | Low |
Hardwood / Engineered Wood | Pried or lifted depending on installation method | Medium | Medium |
Laminate | Unlocked and lifted if floating; scraped if glued | Low to medium | Low to medium |
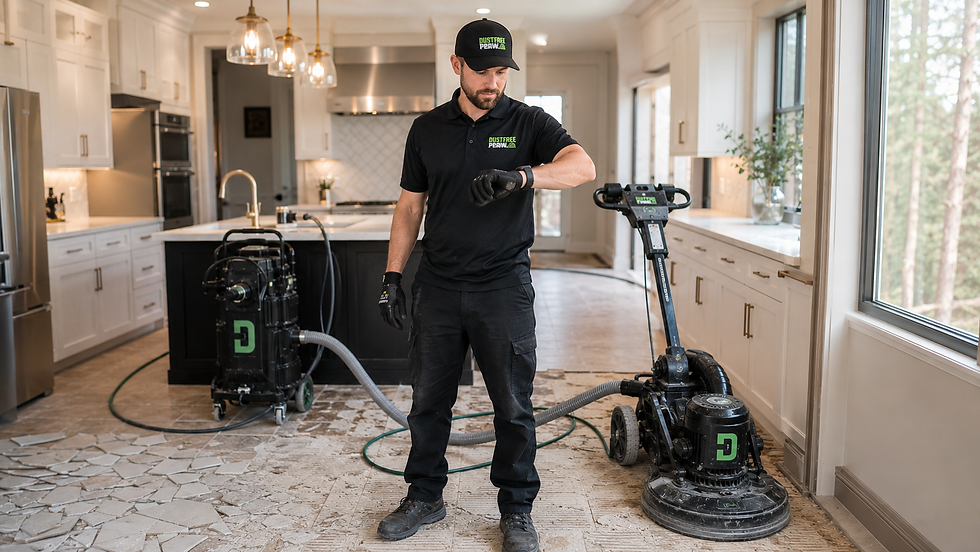
For tile removal specifically, dust risk is one of the most important factors in the process. Traditional tile demolition can release up to one pound of crystalline silica dust per square foot of flooring removed. That silica dust is a respiratory hazard, and once airborne, it can spread through a home's HVAC system well beyond the work zone. The professional dust-control equipment DustFree PNW uses captures dust at the point of removal before it becomes airborne.
Step 3: Adhesive and Thinset Removal
Removing the surface flooring is only the first layer of the job. Underneath tile, there's almost always a layer of thinset mortar that has to come off the subfloor before new flooring can go down. Under vinyl or engineered wood, there's often adhesive residue. Under carpet, there are tack strips along the perimeter.
This layer is often the most time-consuming part of the job. Thinset that's been bonded to a concrete subfloor for years doesn't come up easily, and it has to come up cleanly, since leftover high spots or adhesive residue prevent new flooring from laying flat and bonding correctly. DustFree PNW's thinset removal service covers this step specifically for jobs where the mortar layer is the primary challenge.
Step 4: Subfloor Inspection and Preparation
Once the surface material and adhesive are fully removed, the subfloor is exposed for the first time. This is when any hidden conditions become visible: moisture damage, uneven concrete, cracks, or sections that need repair before new flooring can go down.

A professional demo crew should flag any subfloor conditions that need attention and communicate them clearly before the installation crew shows up. Missing this step is one of the most common sources of flooring installation problems — new flooring laid over a subfloor that wasn't properly prepped will show those problems within months of installation.
Step 5: Debris Removal and Site Cleanup
Flooring demo generates significant debris, and that debris has to go somewhere before the space can be used again. A complete demo scope includes hauling away all removed material, not just leaving it stacked in the garage for the homeowner to deal with. Confirm that debris removal is included in any quote before booking, since it's a common separate add-on charge.
With dust-free demo equipment, site cleanup after the job is minimal — there's no layer of fine silica dust on countertops, baseboards, or HVAC grilles to deal with. That's a meaningful difference on jobs where the space needs to be livable or usable again quickly.
What This Means for Your Project Timeline
The demo phase sets the schedule for everything that follows. If demo runs long due to unexpected thinset buildup, hazardous material discovery, or subfloor repair, the installation crew's schedule gets pushed back. Working with a demo crew that provides accurate timelines and communicates scope changes quickly keeps the rest of the project from absorbing delays that started before installation even began.
Most residential flooring demolition jobs across our Central Oregon service areas are completed in a single day using source-capture equipment, with the subfloor ready for installation by the end of the same visit.
Final Thoughts
Flooring demolition done right sets up every phase that comes after it. A subfloor that's clean, level, and properly inspected means the installation crew can start without delays, the new flooring bonds correctly, and the finished project performs the way it should. Ready to schedule a demo? Review our work on our Google Business Profile or get a free quote from DustFree PNW.
FAQ
What does flooring demolition actually involve?
It includes site assessment, surface material removal, adhesive or thinset removal, subfloor inspection, and debris haul-away — not just pulling up the visible flooring layer.
How much dust does flooring demolition create?
Tile and stone removal can release up to one pound of silica dust per square foot. Carpet and vinyl removal produce much less. Dust control method matters most for tile and stone jobs.
Does flooring demolition include removing thinset and adhesive?
A complete scope should include it, but not all contractors include thinset or adhesive removal by default. Confirm it's in the scope before booking.
How long does flooring demolition take?
Most residential jobs are completed in a single day with source-capture equipment. Larger jobs or those with thick mortar beds may take longer depending on square footage and material type.
What happens if subfloor damage is found during demo?
A professional crew should flag it immediately, explain the repair options, and confirm any cost or timeline impact before continuing — not discover it on the invoice after the job is done.
Does DustFree PNW handle the full flooring demolition scope?
Yes, DustFree PNW covers removal, thinset and adhesive cleanup, and leaves a clean subfloor ready for installation, serving homeowners and contractors across Central Oregon.

Comments